
This article describes how to create custom error pages in Plesk for your web sites. For example, if users enter an incorrect URL or are not authorized to access specific directories, they see an error page. Companies often customize error pages by branding them with a corporate image and a link to their home page, or with other custom content.
STEP 1:
CREATE THE CUSTOM ERROR PAGE
To create content for the custom error page, you can use the Plesk File Manager. In the File Manager, you can create a new file and edit it directly on the web server.
Alternatively, you can use the text editor of your choice to create the custom error page on your local computer, and then upload the file to your account.
STEP 2:
ENABLE THE CUSTOM ERROR PAGE
To enable the custom error page, follow these steps:
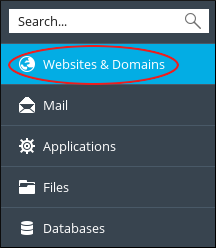
- Log in to Plesk.
- In the left sidebar, click Websites & Domains:
- Locate the domain for which you want to create a custom error page, and then click Virtual Directories:

- Click the Error Documents tab.
- Locate the error condition that you want to modify, and then click it.
-
On the Edit Error Document page, in the Type list box, select one of the following:
- Default: For this option, the site uses the Windows IIS default error page.
- File: For this option, the specified file must already exist in the error_docs directory.
- URL: For this option, the error document must be in a directory other than error_docs.
- In the Location text box, type the filename or URL for the custom error page.
- Click .


