This article describes how to use Plesk to protect specific directories with a password. Visitors to password-protected directories must enter a username and password to view the directory’s contents
ADDING PASSWORD PROTECTION TO A DIRECTORY
When you add password protection to a directory, site visitors are prompted for a username and password when they try to access it. They can only view the directory contents after typing a valid username and password.
To add password protection to a directory, follow these steps:
- Log in to Plesk.
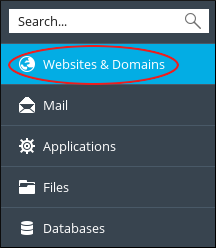
- In the left sidebar, click Websites & Domains:
- Click the Password-Protected Directories icon.
- Under Tools, click .
- Under Settings, in the Directory name text box, type the name of the directory you want to protect.
- In the Title of the protected area text box, you can optionally type a name for the protected directory.
- Click .
- Under Protected directories, click the name of the directory you specified in step 5.
- Under Tools, click Add a User.
- Under Protected directory user, in the Username text box, type a name for the user.
- In the New Password and Confirm Password text boxes, type the user’s password.
- Click . Password protection is now enabled for the directory.
REMOVING PASSWORD PROTECTION FROM A DIRECTORY
You can remove password protection from a directory if you no longer want to protect it with a password. To do this, follow these steps:
- Log in to Plesk
- Locate the directory for which you want to remove password protection, and then select the check box to the left of the directory name.
- Click .
- On the Removal Confirmation page, select the Confirm removal check box.
- Click . Plesk removes password protection for the directory.


